
Powertools
Content
Action 3: Establishing The Little bit
As you can see it just takes a couple of secs to find out just how to change the little bit and also a few seconds extra to master it. A chuck key will certainly resemble a trick, yet with a cog on the end.
Bear in mind, this screw is reversed thread so transform it counter clockwise to tighten up. If your keyless chuck has no screw, you might require to make use of thread-locking liquid on the strings of the chuck where it screws onto the drill. The majority of drill chucks have a standard string, so striking the Allen wrench in a counterclockwise direction need to loosen the chuck from the drill.
So when you alter the drill little bit do it carefully as well as do it quite. , if you have any type of more problem in this concern please allow me know in the comment area. .
When loosened, remain to eliminate from the spindle. The drill chuck holds the drill bit in place with jaws that firmly clamp down on it.
Can't get drill bit out of Dewalt drill?
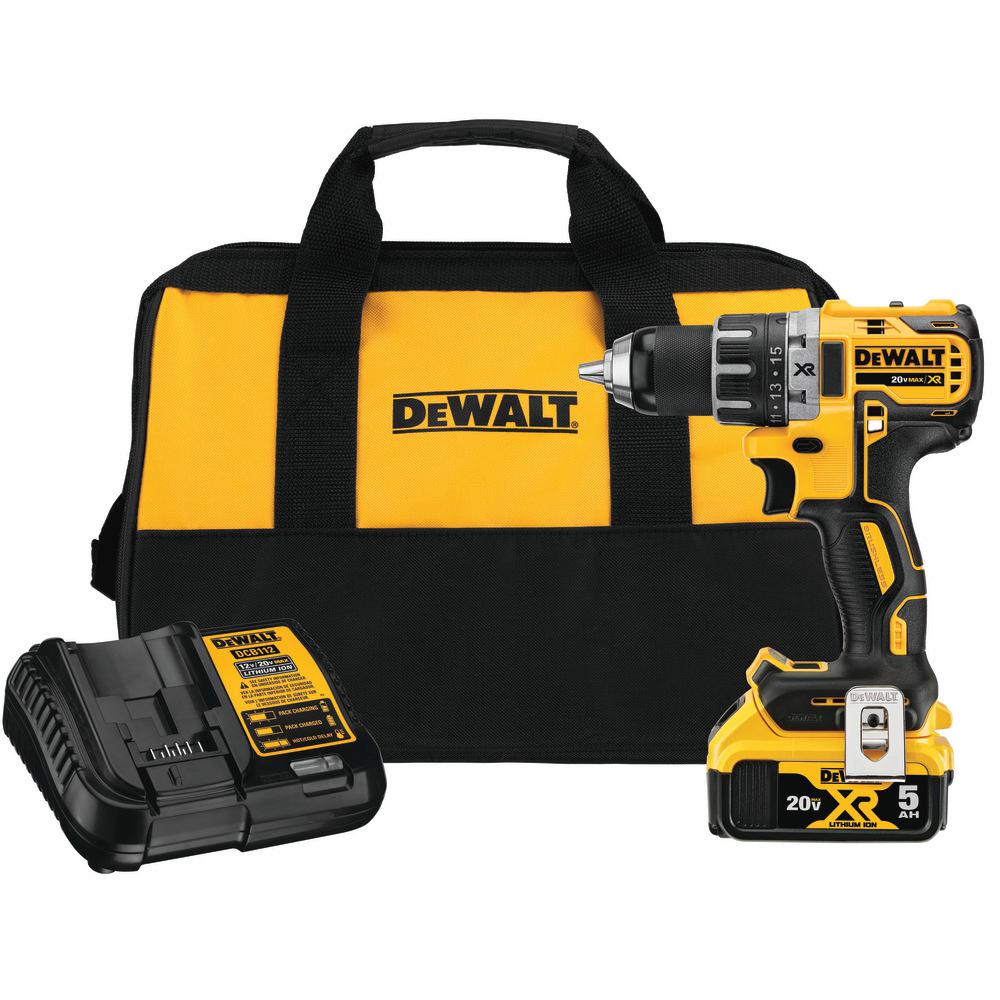
Photo 3: Install the keyless chuck Thread the new drill chuck on the spindle (turning it clockwise) and hand-tighten it. Fully open the jaws of the new keyless chuck, insert the old chuck screw (turning it counterclockwise) and tighten it.
Obits
Place an Allen wrench into the chuck as well as transform it to tighten the chuck once you've gotten rid of the screw. When the wrench is firmly in place, set the drill's gearbox to the most affordable setup to reduce resistance from the gears. Then, touch the Allen wrench with a mallet to loosen the chuck from the drill. Once it's loose, you can unscrew the chuck by hand. Screw your new chuck in its area, tighten it with your Allen wrench, then change the screw in the facility.
- You can do the installation on your own in regarding 20 mins.
- A pin chuck is a specialized chuck made to hold small drills (much less than 1 mm (0.039 in) in size) that might not be held securely in a regular drill chuck.
- Even though you do not have a chuck key, you still require to loosen the chuck to get the last drill bit out and insert the following one.
- The good news is, the diminishing number of older reversible drills can still be converted to a keyless chuck.
- Do-it-yourselfers and pros alike appreciate how quick they can change drill bits, and the comfort of not needing to always hunt up the chuck key.
- The chuck is the part which holds the drill bit.
Twist the chuck carefully to ensure that it is moving in an anticlockwise instructions thereby loosening the hold. After removing the old bit, place the new little bit carefully while maintaining the chuck broad open for smooth insertion.
Exactly how To Modification A Drill Bit Without A Chuck Trick:
Make use of the key in every chuckhole by turning the essential counterclockwise until you see the drill little bit beginning to loosen. Some drills will certainly have more than one hole that you'll require to make use of the key in to loosen the jaws of the chuck totally.
The chuck- This is the item in front of the cordless drill that holds the drill bit with each other. It has 3 pieces of jaws which secure together to tighten up or loosen. On the other hand, a cordless drill has crucial besides the drill little bit. You just tighten up the drill or loosen up bit utilizing drill power. Need to know how to do it, here is the exact step you can make use of to loosen or tighten the drill little bit on a cordless http://rafaelylhl587.bravesites.com/entries/general/pierce-acquiring-guide drill.
When undertaking this procedure and prevent distractions, you need to be cautious. A faster way for setting up a bit without so much twisting is to place the drill in reverse, comprehend completion of the chuck, as well as gradually pull the trigger to open up the little bit. Then drop the little bit right into the chuck, switch over the drill right into onward placement, and also slowly shoot while holding the chuck in place. You'll require to launch the trigger and hand tighten to ensure the little bit is seated appropriately.
Get rid of the little bit from the drill and set it aside.If the drill bit is still stuck, it's most likely that you didn't loosen up all of the holes. Check as well as make certain that you've turned them all counterclockwise. Some older drills and some drill presses will certainly have holes at the end of the drill that fit a special secret. Find the part where the little bit matches the drill, otherwise called the chuck.
A pilot opening is a small opening pierced into a work surface that produces a space for a fastener like a screw. Exploration a pilot hole aids to prevent cracking or splitting the workpiece. Make use of a chuck trick or the keyless chuck to tighten up the chuck by transforming clockwise.

